Master Seasonal Plastering: Tips to Overcome Weather Challenges for Perfect Finishes
Plaster drying times can be tricky. Weather changes can make it hard to know when your walls are ready. Plaster usually takes 2-3 days to dry. This blog will help you handle plaster in any season.
Read on for tips to get your walls done right.
Key Takeaways
- Plaster drying times vary based on weather, with cold slowing it down and heat speeding it up.
- High moisture levels can delay drying and cause issues like mold growth.
- Pros use tools like fans, heaters, and dehumidifiers to manage drying conditions.
- EIFS dries faster than traditional plaster and offers better insulation.
- Signs of persistent dampness, cracking, or peeling may indicate a need for professional help.
Understanding Plaster Drying Times
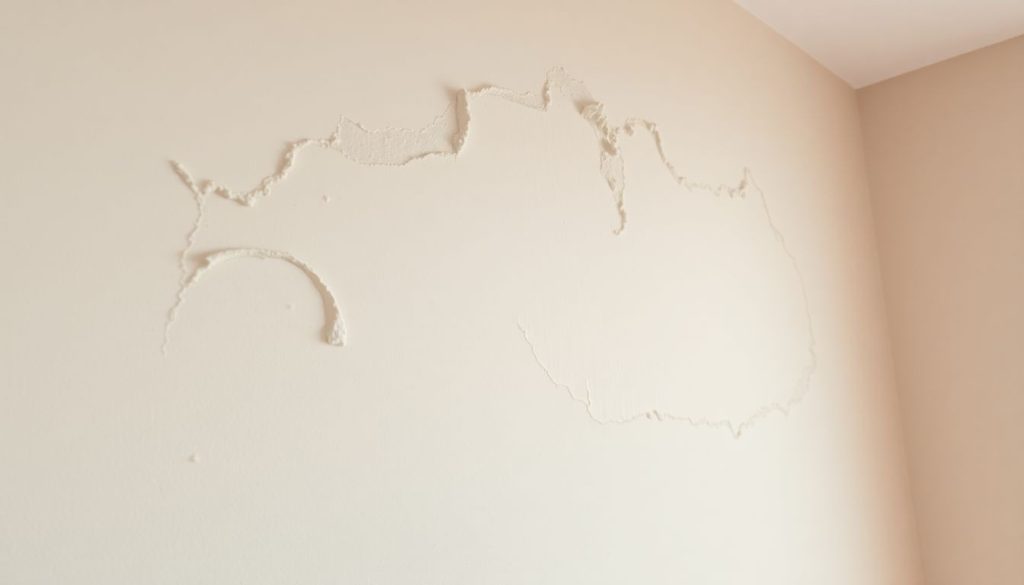
Plaster drying times can vary widely. Many factors affect how long it takes for plaster to set and cure fully.
Factors influencing drying times
Plaster drying times vary based on several key factors. These elements can speed up or slow down the process, affecting your home renovation timeline.
- Humidity: High moisture in the air slows evaporation. This makes plaster take longer to dry.
- Temperature: Warmer air helps plaster dry faster. Cold weather can delay the process.
- Airflow: Good ventilation speeds up drying. Open windows and doors to boost air movement.
- Plaster type: Gypsum-based plasters dry quicker than lime-based ones. Some types can be ready for paint in days.
- Thickness: Thicker layers of plaster need more time to dry fully. Thin coats dry faster.
- Surface material: The base surface affects drying speed. Some materials absorb moisture better than others.
- Season: Time of year impacts drying. Summer often offers better conditions than winter.
- Room conditions: Indoor climate control can help. Heaters and dehumidifiers can create ideal drying settings.
- Application method: How the plaster is put on affects drying. Even, smooth coats dry more uniformly.
- Additives: Some products added to plaster can change drying times. Quick-dry options are available.
Estimating drying periods
Drying times for plaster can vary. Many factors affect how long it takes. The type of plaster matters. Undercoat plaster needs 2 to 3 days to dry. Finish coat plaster dries in 1 to 2 days.
But these are just averages.
Patience is key when waiting for plaster to dry.
The full drying process takes longer. Experts say to wait at least a week after the last coat. This gives the plaster time to set fully. Room conditions play a big role too. Heat, airflow, and humidity all impact drying speed.
Next, let’s look at how seasons change plaster application and drying.
Seasonal Impacts on Plaster Application and Drying
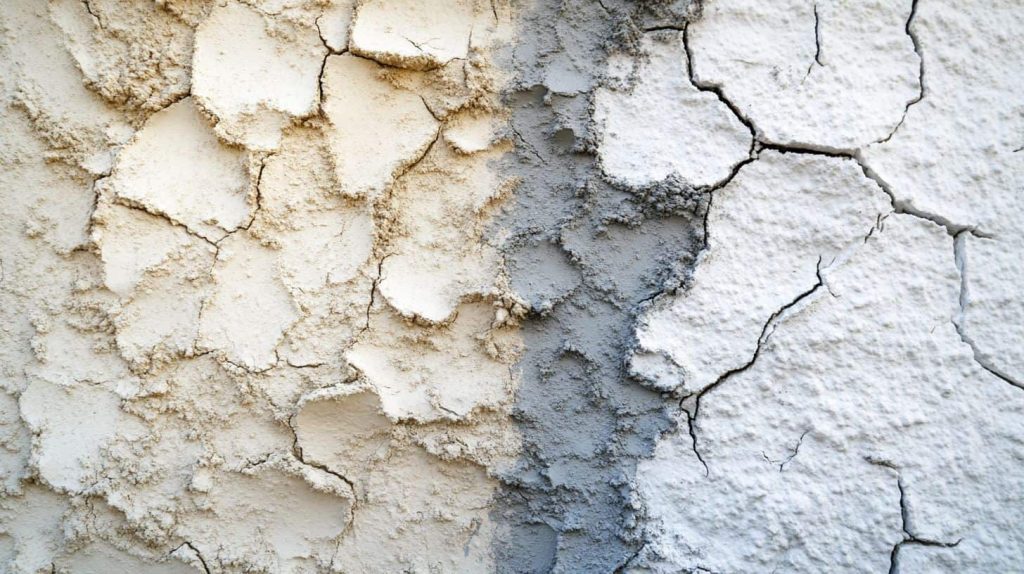
Seasons play a big role in how plaster works. Weather changes can make plaster dry faster or slower.
The impact of cold weather
Cold weather slows down plaster drying. It can take longer for moisture to leave the plaster when temps drop below 40°F. This delay can weaken the plaster’s strength. Pros often avoid plastering in very cold conditions.
Chilly air also affects how plaster sets. The mix may not bond well to walls in the cold. This can lead to cracks or peeling later on. Smart builders use special techniques to protect fresh plaster from freezing temps.
The impact of heat
Heat can accelerate plaster drying. This seems beneficial, but it’s not always ideal. Excessive heat dries plaster too quickly. Rapid drying can weaken the plaster and cause cracking.
It’s essential to maintain a warm, not hot, room temperature.
Gradual and consistent drying leads to the best results for plaster.
Professionals use fans and dehumidifiers to manage the drying process. These tools help remove moisture without overheating the room. Now, we’ll examine how moisture impacts plaster drying.
The impact of moisture
Moisture plays a big role in plaster drying. Too much moisture slows down the process. It can lead to problems like mold or weak plaster. A wet room makes plaster take longer to dry.
This is why good airflow is key. Open windows help remove extra moisture from the air.
Damp walls can cause issues even after the plaster dries. Wood under the plaster might swell if it gets wet. In fact, a 4% change in moisture can make wood grow 1% in size. This swelling can crack the plaster.
To avoid this, keep the room dry and warm while the plaster cures. Use fans or dehumidifiers if needed. These tools help create the best conditions for plaster to dry well.
The impact of frost
Moisture isn’t the only weather issue to watch out for. Frost can also cause big problems for plaster. When temps drop below freezing, ice crystals can form in wet plaster. This can make the plaster weak and crumbly.
Frost damage often shows up as cracks or flaking once the plaster dries.
To avoid frost issues, pros wait for warmer weather to apply plaster outdoors. Inside, they keep rooms above 40°F while the plaster dries. Heaters and tarps help protect fresh plaster from freezing.
Smart builders plan ahead to dodge cold snaps that could ruin a plastering job.
Cold Weather Plaster Application
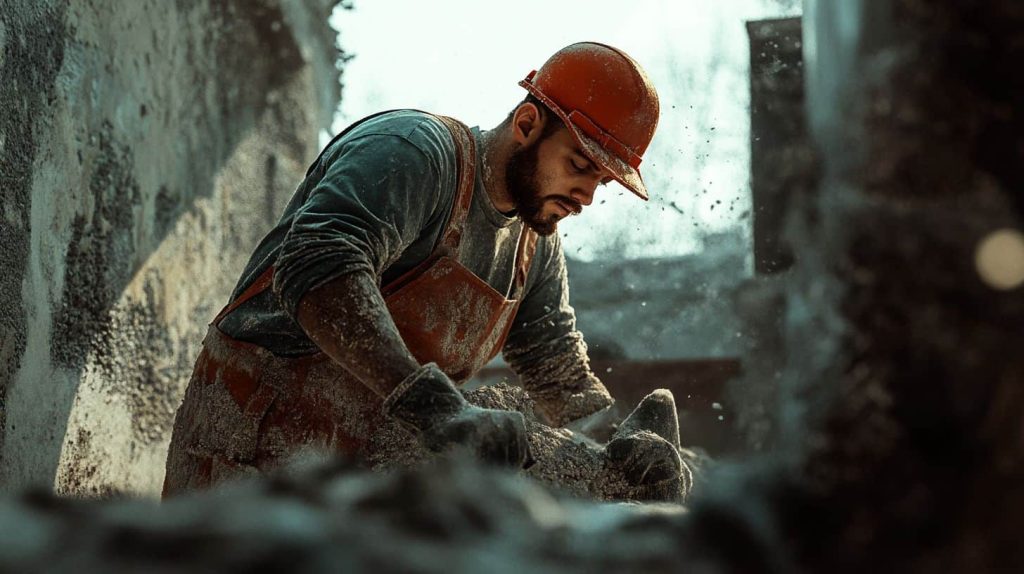
Cold weather can make plaster application tricky. Freezing temps slow drying and cause cracks. But don’t worry! We’ve got tips to help you master winter plastering. Keep reading to learn how to beat the chill and get great results.
Cold weather application hints
Winter can make plaster work tricky. Here are some tips to help you apply plaster in cold weather:
- Keep materials warm: Store plaster mix and water in a heated area before use.
- Heat the work area: Use space heaters to warm up the room to at least 50°F.
- Mix small batches: This helps the plaster stay warm longer as you work.
- Add warm water: Use lukewarm water to mix the plaster for better workability.
- Work quickly: Apply the plaster fast to avoid it cooling down too much.
- Avoid drafts: Close windows and doors to keep cold air out.
- Use accelerators: Add special products to speed up drying time.
- Cover fresh plaster: Use plastic sheets to protect new plaster from frost.
- Allow extra drying time: Cold slows down the process, so be patient.
- Check humidity: Use a meter to ensure the air isn’t too damp for drying.
- Ventilate wisely: Open windows briefly during warmer parts of the day.
- Monitor temperature: Keep track of room temp with a thermometer.
Challenges of lath and plaster in winter
Cold weather brings new hurdles for lath and plaster work. Freezing temps can slow down drying times a lot. This makes it hard to finish jobs on time. Moisture is also a big problem in winter.
It can get trapped in walls and cause damage later.
Pros must take extra care when working in cold months. They may need to limit scratch coat thickness to 1/4 inch in damp, cool weather. Using 60-minute paper over wood framing after rain helps stop moisture issues.
These steps are key to good results in tricky winter conditions.
Precautions and preparations
Plaster work in cold weather needs special care. Here are key steps to take before you start:
- Heat the space: Turn on heaters to warm up the area. This helps the plaster dry better.
- Check walls: Look for cracks or damp spots. Fix these before you start plastering.
- Use warm water: Mix plaster with warm water. This keeps the mix from getting too cold.
- Insulate pipes: Wrap pipes to stop them from freezing. Frozen pipes can burst and ruin your work.
- Cover windows: Put plastic sheets on windows. This keeps cold air out and warm air in.
- Wear warm clothes: Dress in layers. You’ll stay warm and can move easily.
- Have good lights: Set up bright lights. You need to see well to do a good job.
- Keep tools warm: Store tools in a warm place. Cold tools can affect the plaster mix.
- Plan your time: Work when it’s warmest. This is often in the afternoon.
- Use quick-dry plaster: Pick a fast-drying type. It will set before the cold can harm it.
Warm Weather Plaster Application
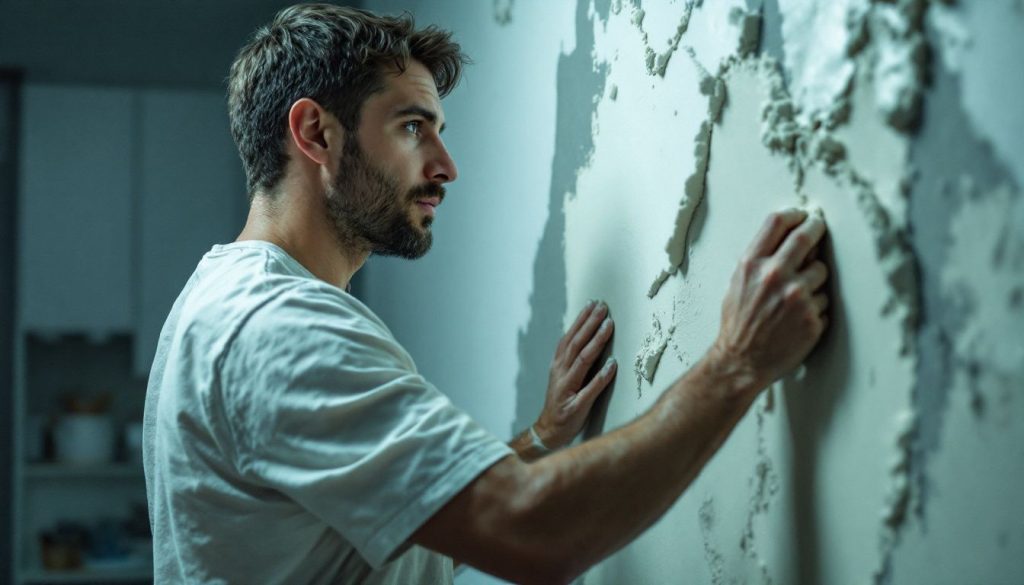
Hot weather can make plaster dry too fast. You need to change how you work when it’s warm out.
Managing high temperatures
High temps can make plaster dry too fast. This quick drying can lead to weak spots and cracks. Here’s how to manage high temps when plastering:
- Use cold water in your mix. This slows down the drying process.
- Work in smaller sections. It helps you control the drying time better.
- Apply a mist coat. Spray water on the surface before plastering to slow drying.
- Set up fans. They help move air and keep the plaster from drying too fast.
- Cover windows. This blocks direct sunlight and can speed up drying.
- Start early. Work in the cooler morning hours when possible.
- Add retarders to your mix. These slow down the setting time of plaster.
- Keep tools cool. Store them in shade or in a cooler to prevent heat transfer.
- Use damp cloths. Drape them over freshly plastered areas to slow drying.
- Take breaks often. This gives the plaster time to set at a good pace.
Dealing with high humidity
High humidity can slow down plaster drying. Here are ways to deal with it:
- Use fans to move air. Put fans in the room to help water leave the plaster faster.
- Open windows. This lets moist air out and dry air in.
- Run a dehumidifier. It pulls water from the air, making the room drier.
- Heat the room. Warmer air can hold more water, which speeds up drying.
- Apply thin coats. Thinner layers of plaster dry quicker than thick ones.
- Space out coats. Wait for each layer to dry before adding the next one.
- Pick the right time. Try to plaster when the weather is less humid.
- Use quick-dry plaster. Some types of plaster dry faster in damp air.
- Check with tools. Use a hygrometer to track how much water is in the air.
- Be patient. Don’t rush the process. Let each coat dry fully.
Moisture and Its Effects
Moisture plays a big role in how fast plaster dries. High humidity slows down drying and can cause issues like mold growth. Smart ventilation and dehumidifiers help manage moisture levels, leading to better plaster results.
How moisture affects drying times
Moisture slows down plaster drying. It stops water from leaving the plaster easily. High humidity in a room makes this worse. The plaster stays wet longer, which can cause problems.
It might not set right or could grow mold.
Damp air makes drying take more time. This is why pros often use fans and open windows. Moving air helps water leave the plaster faster. In very wet places, they might even use special tools to pull moisture out of the air.
This helps the plaster dry better and faster.
Tips for managing high moisture levels
High moisture can slow down plaster drying. Here are tips for managing excess moisture:
- Use dehumidifiers. These machines pull water from the air, lowering humidity.
- Open windows. Fresh airflow helps moisture escape.
- Run fans. Moving air speeds up drying.
- Turn on heaters. Warm air holds less moisture than cool air.
- Apply thin coats. Thinner layers dry faster than thick ones.
- Space out coats. Let each layer dry before adding the next.
- Avoid water-based paints. They add more moisture to walls.
- Check weather forecasts. Plan work for drier days.
- Use moisture meters. These tools tell you when the plaster is dry enough.
- Seal off wet areas. Keep moisture from spreading to dry spots.
Understanding the Differences Between Traditional Plastering and EIFS/Stucco
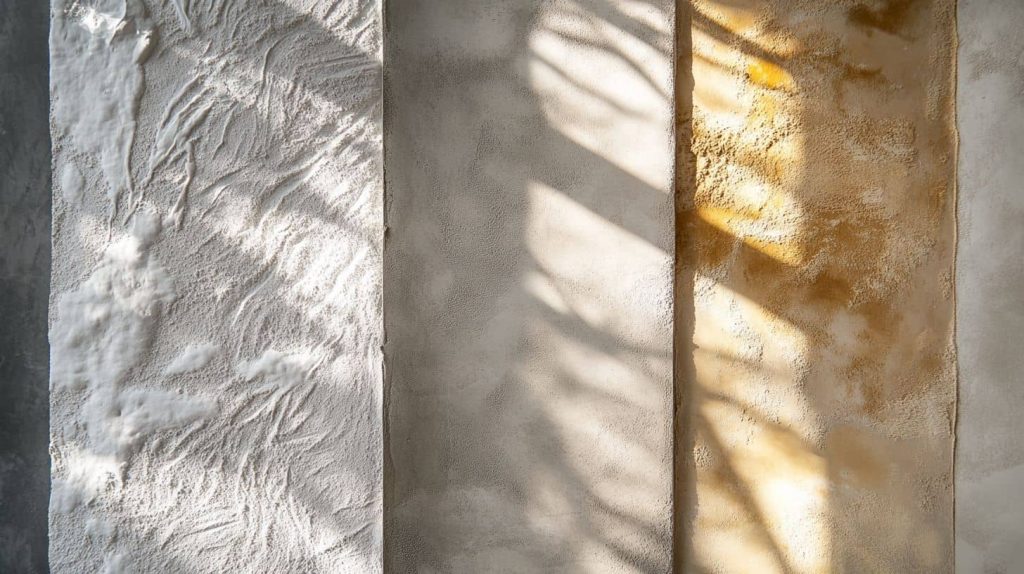
Traditional plastering and EIFS/stucco have key differences. Traditional plaster uses a mix of lime, sand, and water applied to walls. It takes longer to dry and needs more skill to apply.
EIFS, or exterior insulation and finish systems, use foam boards and a thin coat of synthetic stucco. This method dries faster and offers better insulation.
Both methods have pros and cons for homeowners. Traditional plaster lasts longer but costs more. EIFS is cheaper and easier to install but may not hold up as well over time. The choice depends on budget, climate, and personal preference.
Gypsum-based plasters dry faster than lime-based ones due to how they hold moisture.
The Benefits of EIFS for Energy Efficiency
EIFS helps homes stay cozy and save money. This system puts a layer of insulation on the outside of your house. It stops heat from escaping in winter and keeps cool air inside during summer.
Your home stays at a nice temp without working your heating or cooling too hard. This means lower energy bills for you. Plus, EIFS cuts down on drafts and cold spots. It wraps your home in a blanket of warmth, making every room comfy.
With EIFS, you’ll use less energy and enjoy a more pleasant living space all year round.
Tips for Effective Plaster Application Across Seasons
Changing seasons call for different plaster methods. Learn how to adapt your work to hot, cold, and wet conditions. Read on for expert tips to get the best results year-round.
Adjusting techniques for temperature and humidity
Plaster drying needs the right mix of heat and moisture. Too hot or too cold can mess up the process. Use tools like hygrometers to check the air. These gadgets tell you how much water is in the air.
If it’s too damp, use a dehumidifier to dry things out. If it’s too dry, add some moisture with a humidifier.
Temperature matters too. Plaster dries best between 50°F and 70°F. In cold weather, use heaters to warm up the room. In hot weather, cool things down with air conditioning. Keep air moving with fans, but don’t point them right at the wet plaster.
Good airflow helps dry the plaster evenly. Next, let’s look at how to protect fresh plaster from the elements.
Ventilation strategies
After adjusting your methods for heat and moisture, focus on airflow. Good air movement helps plaster dry faster and more evenly. Open windows to let fresh air in. Use fans to move air around the room.
This creates a flow that pulls moisture away from the plaster.
Set up fans to blow across the plaster, not directly at it. Direct airflow can cause uneven drying or cracks. Place fans at different angles to cover all areas. Keep doors open to allow air to circulate through the whole house.
These simple steps can speed up drying time and improve the final result.
Protecting fresh plaster from seasonal elements
Good airflow helps plaster dry. But fresh plaster needs protection from harsh weather too. Cover new plaster with plastic sheets in rainy seasons. This keeps excess water away. In hot, dry times, mist the surface lightly.
It stops the plaster from drying too fast and cracking.
For cold weather, use heaters to keep the area warm. This helps the plaster cure right. Don’t let it freeze before it’s dry. In windy spots, put up barriers. They block strong gusts that could damage wet plaster.
These steps guard your new plaster against nature’s mood swings.
When to Seek Professional Help
Plaster issues can be tricky. You might need a pro if you see cracks or peeling. Large jobs also call for expert hands.
Persistent moisture or dampness
Damp walls after plastering can spell trouble. Moisture that stays too long may point to bigger issues. It could mean poor ventilation or hidden leaks. These problems can lead to mold growth and damage your walls.
Don’t ignore wet spots that won’t dry. They’re a sign you need to act fast.
If you see moisture long after the plaster should be dry, call a pro. An expert can find the root cause and fix it. They might use special tools to measure moisture levels. Quick action can save you from costly repairs down the road.
Keep an eye out for musty smells or peeling paint too. These are other signs that moisture is hanging around where it shouldn’t.
Signs of cracking or peeling
Cracks and peeling in plaster can spell trouble. These issues often point to bigger problems like water damage or poor application. Small hairline cracks may be normal as plaster dries.
But large cracks or chunks falling off need quick action. Peeling plaster is a red flag too. It means the plaster isn’t sticking well to the wall anymore.
Don’t ignore these warning signs. They can lead to worse damage if left alone. Fixing small cracks early is easier and cheaper than dealing with big repairs later. If you see lots of cracks or peeling, it’s time to call a pro.
They can find the root cause and fix it right.
Large or complex plastering areas
Peeling plaster can lead to bigger jobs. Large areas need expert help. Pros have the tools and know-how to handle big spaces. They can apply plaster evenly across walls and ceilings.
This ensures a smooth finish that lasts.
Complex jobs also call for pros. Curved walls or high ceilings are tricky. Experts can tackle these tough spots with ease. They use special methods to get the job done right. Hiring a pro saves time and headaches in the long run.
Conclusion
Seasons play a big role in plaster work. Each time of year brings its own challenges. Cold slows drying, while heat speeds it up. Moisture can cause problems too. Smart workers change their methods to match the weather.
With the right know-how, you can get great results all year round.
FAQs
How long does plaster take to dry?
Plaster drying time varies. It depends on the type of plaster, thickness, and room conditions. Thin layers may dry in 2–3 days. Thicker coats can take up to 4 weeks for complete drying. Weather, humidity, and temperature play big roles in this process.
Can I speed up plaster drying?
Yes, you can. Open windows to boost airflow. Use fans to move air around. Keep the room warm – higher temps help moisture evaporate faster. But don’t rush it too much. Natural drying ensures the plaster cures properly.
How do seasonal changes affect plastering?
Seasons greatly impact plaster work. Summer’s warmth speeds drying. Winter’s cold slows it down. High humidity in spring or fall can delay drying. Plasterers often adjust their mix and techniques based on the weather to get optimal results.
Is it okay to plaster in cold weather?
Plastering in the cold is tricky but possible. Low temps make drying slower and harder. The plaster might not set right. If you must do it, heat the room. Keep it warm until the plaster’s fully dry. This helps avoid cracks and other issues.
When can I paint or wallpaper over new plaster?
Wait until the plaster is fully dry. This could take 4 days to 4 weeks. Test it by touching – if it feels cool, it’s still damp. For best results, let it dry completely. Then seal the surface before painting or wallpapering. This step is key for a good finish.
What factors influence plaster drying time?
Many things affect how fast plaster dries. The main ones are:
– Plaster thickness
– Room temperature and humidity
– Air circulation
– Type of plaster used
– Wall material underneath
– Season and weather
Controlling these factors can help achieve better, faster drying. But remember, rushing can lead to problems later.

