Revitalize Your Building’s Exterior with Effective EIFS Maintenance and Repair
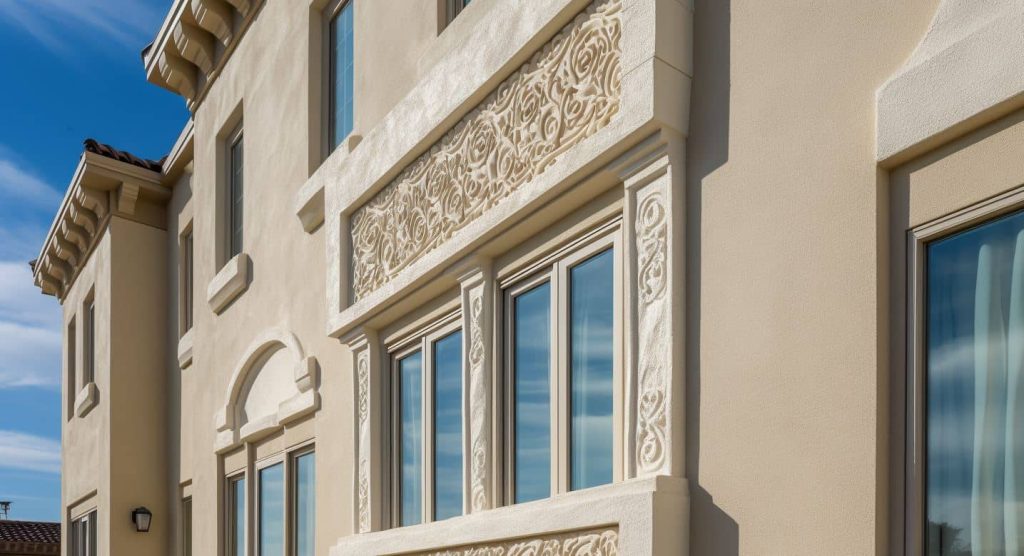
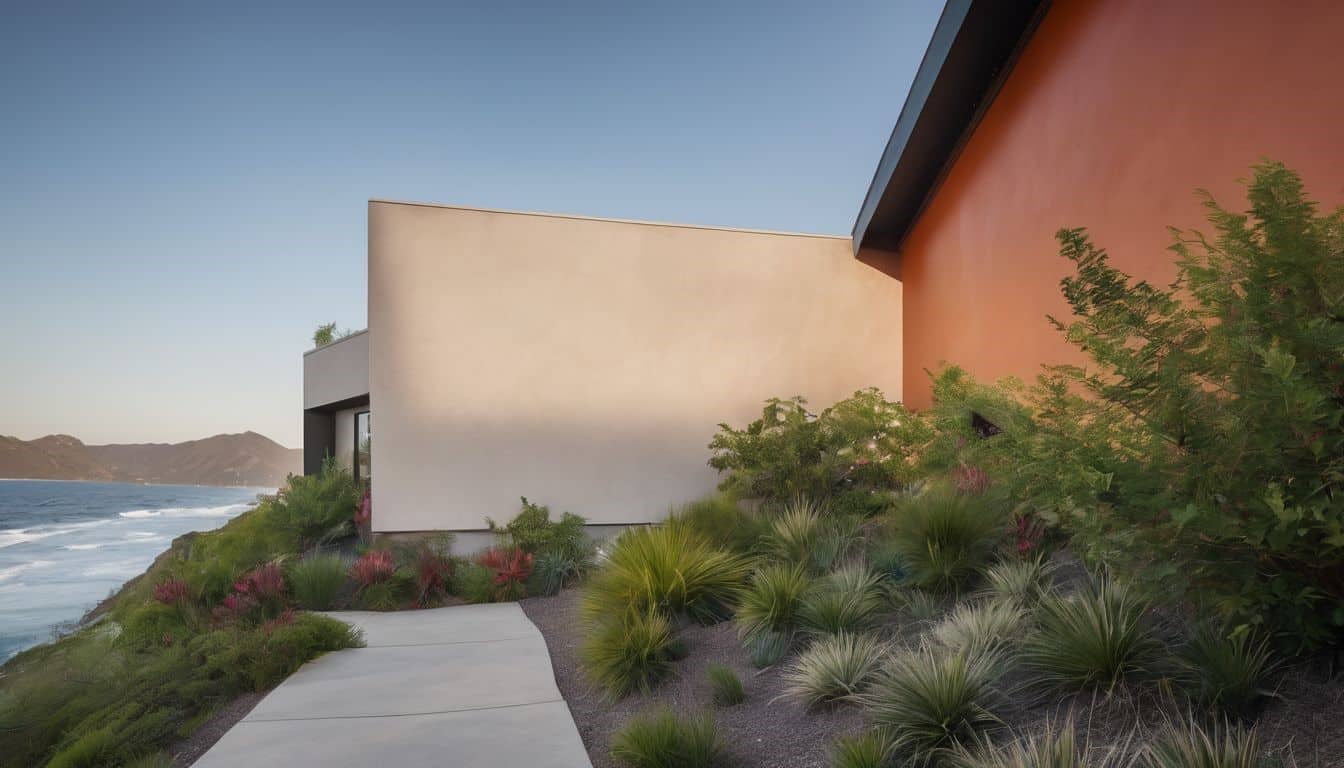
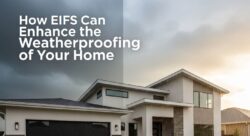
Exterior insulation and finishing systems (EIFS) have become an increasingly popular way to insulate and beautify commercial and residential buildings over the past few decades. Sometimes referred to as synthetic stucco, EIFS utilizes an insulating material covered with a waterproof base coat and decorative finish to create an energy-efficient and aesthetically pleasing facade.
While EIFS offers many benefits, like improved insulation and curb appeal, it does require proper maintenance and occasional repairs to maximize its lifespan and performance. From sealing minor cracks to replacing water-damaged sections, understanding basic EIFS repair principles and techniques can help building owners keep their exterior cladding looking great and functioning optimally for years to come.
In this comprehensive guide, we’ll explore the most common EIFS repair scenarios and provide tips to tackle them like a seasoned pro. Read on to unlock the secrets of longer-lasting EIFS and protect your valuable insulation investment.
The EIFS Repair Process: 7 Key Steps
Before diving into specific repair techniques, it’s helpful to understand the overall process:
1. Inspect and Identify Damage
Carefully examine the EIFS facade and note any cracks, holes, debonded areas, discoloration, or other issues. Try to pinpoint the location and extent of the damage.
2. Determine Underlying Causes
Understand what factors caused the damage. Was it structural movement, impact, moisture intrusion, or normal wear and tear? Determining the root cause will inform the best repair approach.
3. Clean Repair Area
Thoroughly clean the damaged section with water or a mild cleaner and allow it to fully dry. This provides a sound base for long-lasting repairs.
4. Prepare Surrounding EIFS
Mask off undamaged areas to keep spray and debris localized. Seal perimeter joints to prevent moisture ingress behind adjacent EIFS.
5. Remove Affected EIFS
Cut out and pry off just the damaged EIFS components. Take care not to harm stable underlying materials.
6. Replace EIFS Components
Install new insulation board, base coat, reinforcing mesh, finish coat, and paint/sealants per manufacturer specifications.
7. Blend and Seal Repaired Area
Texture, paint, and finish the patch to blend seamlessly with the surrounding EIFS facade. Caulk edges thoroughly.
Now let’s explore how to apply this process for common EIFS repair scenarios.
Assess Damage and Plan Your Repair Approach
The first step in any EIFS repair project is assessing the location, severity, and cause of damage. Some things to look out for include:
Cracks or Holes in the Finish Coat
Look for any breaches in the acrylic-based finish layer, which serves as EIFS’s first line of aesthetic defense. Cracks and punctures can allow moisture intrusion and lead to bigger problems if left unrepaired.
Potential causes include:
- Structural settlement or vibration
- Impact damage from objects striking the wall
- Freeze-thaw cycles cause the finish coat to expand and contract
- Poor initial detailing or faulty application
Discoloration or Staining
Dark streaks, drips, or stains on the finish can indicate moisture infiltration. Left unchecked, chronic moisture can damage underlying materials and lead to fungal growth.
Root causes may include:
- Leaky windows, flashing, or attachments
- Clogged or missing weep holes
- Sprinklers spraying onto EIFS surfaces
- Deficient caulking at joints and seams
Debonded or Hollow Spots
Tap on suspect areas and listen for hollow or deadened sounds, which may signal sections detaching from the substrate. Loose EIFS can allow pests to enter and moisture to infiltrate.
Potential reasons for bond loss include:
- Initial installation error or inadequate adhesive
- Excessive substrate moisture or alkalinity
- Structural movement flexing the EIFS panels
Once you’ve identified any issues, assess their location, size, and cause to determine the best repair approach. Small holes and cracks under 2 inches wide usually only require patching, while more extensive damage will require replacing full EIFS sheets.
Safety First!
EIFS repairs often involve working at heights, applying caulks and sealants, cutting rigid foam insulation, and more. Be sure to:
- Use proper fall protection when using ladders or lifts
- Wear safety goggles, gloves, long sleeves, and a mask or respirator
- Work in well-ventilated areas and follow all product safety precautions
Having a plan, the right materials, and proper safety gear will set you up for success. Now let’s cover how to implement minor and major EIFS repairs.
Minor EIFS Patch Repairs
For small damaged areas less than 2 inches wide, sealant and patching compound offer an easy fix. Follow these steps:
Prep the Surface
- Clean the area thoroughly using a brush and mild cleaner. Rinse and allow to fully dry.
- Sand rough edges using 120-grit sandpaper to create a smooth surface for patching.
- Use a utility knife to cut back the finish coat 2-4 inches around the damaged area. This helps blend the patch.
Apply EIFS Sealant
- Force elastomeric polyurethane sealant deep into any cracks or punctures using a caulking gun. Tool the sealant with a plastic applicator to completely fill the damaged spot.
- Feather out the sealant edges so it smoothly transitions into the surrounding finish coat.
- Remove any excess sealant with a putty knife and allow to cure fully per manufacturer directions.
Patch with EIFS Compound
- Trowel on EIFS patching compound over the repaired area, feathering the edges outward.
- Smooth the compound flush with the surrounding finish coat using a putty knife or trowel.
- Allow the patch to thoroughly dry per product instructions before moving to the next steps.

Restore Finish Coat
- Once dry, gently sand the patch with 120-grit sandpaper to remove any high spots and blend edges.
- Apply a compatible acrylic-based EIFS finish coat over the patch using the proper spraying or troweling technique.
- Texture the finish to closely match the surrounding EIFS pattern.
- Spot paint the repaired section with compatible EIFS paint to blend the color if needed.
By properly sealing, patching, recoating, and blending, you can quickly repair minor EIFS cracks and punctures yourself and restore the facade’s weather tightness and aesthetics.
Replacing Larger Sections of Damaged EIFS
For holes, debonded areas, and moisture degradation impacting over 2 inches of EIFS, full sheet replacement will be required. This involves cutting out and replacing sections of the insulation board, base coat, and finish coat. Follow these key steps:
- Prep and Protect Surrounding EIFS
- Mask off undamaged EIFS around the repair area using painter’s tape and plastic sheeting. This avoids overspray and damage to adjacent panels.
- Seal perimeter joints where the repair meets existing EIFS using a quality polyurethane sealant. Backer rod helps create a proper joint profile. This prevents water from sneaking in behind surrounding sheets.
- Remove Damaged EIFS
- Outline the repair area with a straightedge and utility knife. Make the cut through the finish coat and base coat down to the insulation.
- Use a hot knife, reciprocating saw with an insulation blade, or router to cut through the insulation board itself. Make the hole 2 inches wider than the damaged area.
- Pry off the affected EIFS pieces using a pry bar. Take care not to harm the underlying water-resistive barrier or sheathing.
- Use a stiff brush and putty knife to scrape away all remaining base coat material within the repair area.
- Install New Insulation Board
- Cut replacement EPS insulation board to size using a sharp utility knife or hot wire cutter.
- Apply adhesive to the back of the board following EIFS manufacturer specifications.
- Firmly press the new insulation into place, ensuring 100% contact with the substrate for an optimal bond. Don’t allow any voids or gaps behind the board.
- Apply New Base Coat and Mesh
- Trowel on a fresh base coat to all insulation board seams in the repair area per EIFS guidelines. While still wet, embed reinforcing mesh to strengthen the joints.
- Apply a base coat over the insulation board surface, feathering it out onto the surrounding EIFS. Allow proper drying time.
- Apply Finish Coat and Texture
- Using proper spray equipment or trowel technique, apply a compatible acrylic-based finish coat over the patched area and feather outward several inches.
- Imprint a finish texture to closely match the surrounding EIFS pattern using appropriate rollers or stamps. Allow the finish to fully cure.
- Clear and Paint
- Once fully dry, apply a compatible EIFS clear coat to help seal and protect the repaired section.
- Spot paint only the affected area using EIFS paint that matches the existing facade color. Blend edges.
- Seal Perimeter and Remove Protective Sheathing
- Run a perimeter bead of silicone sealant around all cut edges where the new meets the old EIFS—tool to ensure adherence.
- Carefully remove painter’s tape and plastic sheeting from surrounding areas.
With meticulous technique and the right materials, you can successfully replace sections of damaged EIFS insulation, coats, and textures for an invisible repair.
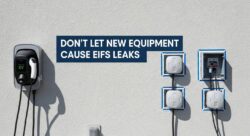
Advanced Moisture Intrusion Repairs
Left unchecked, water infiltration behind EIFS can rot structural members, breed mold, and require very costly repairs. If you suspect chronic moisture issues, advanced repairs may be needed. Two common solutions include:
Flashing Installation
Vulnerable areas like windows, doors, deck ledger boards, and roof lines often benefit from flashing installation. Self-adhering rubberized asphalt flashing is commonly used. When correctly integrated into the EIFS, it helps divert water away from the moisture-sensitive wall cavity. Hire an experienced professional for proper waterproofing details.
Drainage Track or “Rainscreen” Systems
These systems create a ventilation gap and drainage plane between the EIFS and structure to manage bulk water intrusion. Rainscreen assemblies utilize vertical furring strips behind the EIFS to facilitate drainage and drying potential. Total EIFS removal is required for installation. They represent the ultimate line of defense for chronically wet walls.
While invasive and complicated, advanced repairs can be well worth it to protect against water damage and avoid structural deterioration down the road. Don’t delay in consulting an EIFS specialist if major moisture issues are suspected.
Know Your Limits
Some EIFS damage scenarios are quite complex, such as repairing:
- Large sections impacting building corners or curves
- Entire stories of moisture-degraded EIFS
- Structural cracks or major deformation
- Retroactively installing flashings or rainscreen systems
If you lack the experience, equipment, or confidence to tackle major repairs, don’t hesitate to call in an EIFS specialist. Their expertise can save you time, frustration, and potentially thousands in future repairs.
Here are clear signs it’s time to hire a pro:
- Damage wider than 4 feet
- Bulging, deformed, or structurally compromised areas
- Suspected underlying water damage or mold issues
- Severe cracking over multiple stories
- Damage beyond your skill level or experience
Protect Your EIFS Investment
EIFS brings invaluable aesthetics, energy savings, and weatherproofing abilities when properly maintained. Keep these repair tips in mind:
- Quickly fix minor cracks and damage using proven sealant and patching techniques. Don’t delay small repairs that can prevent bigger headaches down the road.
- For larger areas of degradation, full EIFS sheet replacement will be required. Take care to properly detail seams, coatings, and textures for invisible repairs.
- Advanced repairs like flashing, rainscreens, and recladding may be needed for severe moisture damage. Immediately consult a specialist in these scenarios.
- Know your limits and hire an experienced EIFS contractor when needed. Their expertise is well worth the cost of challenging projects.
- Establish a maintenance plan for periodically inspecting EIFS and making necessary repairs. Prevention and early intervention are the keys to longevity!
With the right repair approach, materials, and attention to detail, you can maximize the life and performance of your valuable EIFS facade. So unlock the secrets of EIFS success, sparkle up your building, and let your design shine!
Contact us or Call (765) 341-6020 for a Free EIFS Estimate