Choosing Gypsum Plaster for Interior Walls and Ceilings
Gypsum plaster can provide a smooth interior wall or ceiling finish when the product, supporting base and room conditions suit the work. This guide explains the available systems, their moisture limits and what to confirm before application or repair.
Start With the Room’s Conditions
Choose gypsum plaster for the conditions it will face. Direct water contact, excessive moisture and unresolved leaks need to be addressed before selecting an interior finish. The product, base and preparation must work together.
Key Takeaways
- Check moisture exposure. A smooth plaster finish does not make a wall waterproof.
- Select a complete system. Conventional and veneer plaster need compatible bases, coats and preparation.
- Use the product instructions. Thickness, storage and decoration requirements vary by manufacturer.

Where Gypsum Plaster Fits
Gypsum plaster is an option for interior walls and ceilings where a smooth plaster finish is wanted. Start with the existing surface and the room’s actual exposure.
USG’s Imperial Veneer Finish guidance excludes use where contact with water or excessive moisture may occur. A bathroom or kitchen needs an exposure assessment: direct splashing, persistent condensation and leaks affect material selection.
Understanding Gypsum Plaster
Gypsum plaster is mixed with water and applied as part of an interior finishing system. Conventional plaster uses a thicker build-up of coats; veneer plaster uses thin coats over a suitable base.
For repairs, identify the existing material, the condition of its base and how the patch will meet the surrounding finish. Photographs of the damaged area and adjacent surfaces help explain what needs checking.
Moisture Check Before Plastering
- Identify leaks, staining or persistent dampness before specifying new plaster.
- Describe whether the surface receives direct water or repeated condensation.
- Confirm that the selected manufacturer permits the intended exposure.
Storage and Shelf Life of Gypsum Plaster
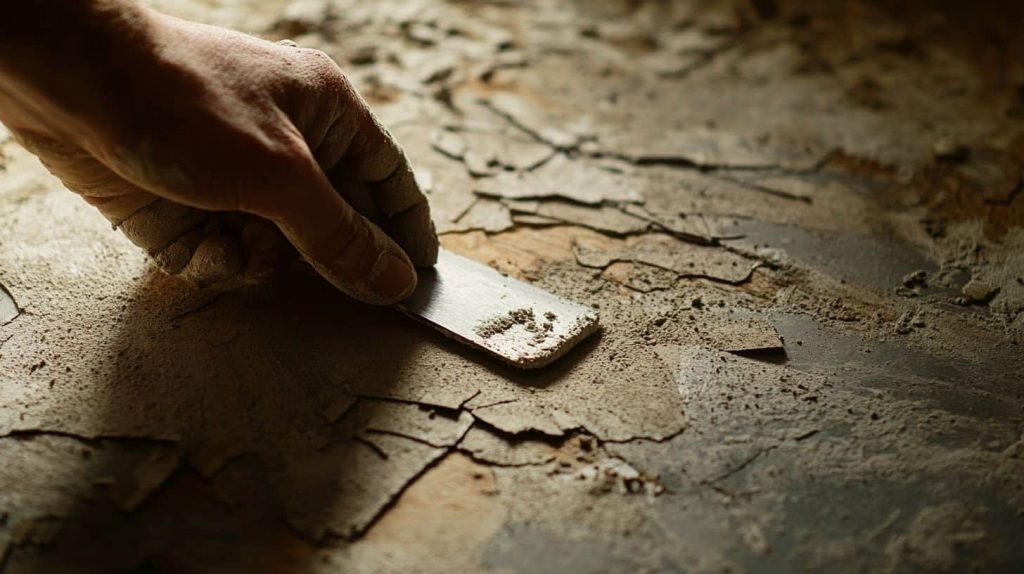
Protect bagged plaster from moisture during storage and on the job. Check the product date and packaging, rotate stock and follow the selected manufacturer’s storage requirements.
Ask the supplier about damaged bags or suspected moisture exposure. Resealing an opened bag does not extend the manufacturer’s stated shelf life.
Application and Thickness of Gypsum Plaster
Thickness depends on the product, supporting base and specified system. Use the following comparison to guide the discussion with your installer.
Application Planning Guide
| System | Build-Up | Confirm Before Work |
|---|---|---|
| Conventional Plaster | A thicker system built up in multiple coats. | Approved base, coat sequence and specified thickness of each coat. |
| One-Coat Veneer | A thin finish over a manufacturer-approved base. | Base compatibility, joint preparation and specified finish thickness. |
| Two-Coat Veneer | A thin veneer basecoat followed by a compatible finish. | Approved base, compatible coat products and thickness of both coats. |
Planning comparison only. Obtain application dimensions from the selected product’s current technical instructions.
For a patch, the installer should explain how the specified build-up will meet the surrounding plaster. Confirm the temperature, ventilation and drying conditions required during the work.
Types of Gypsum Plaster
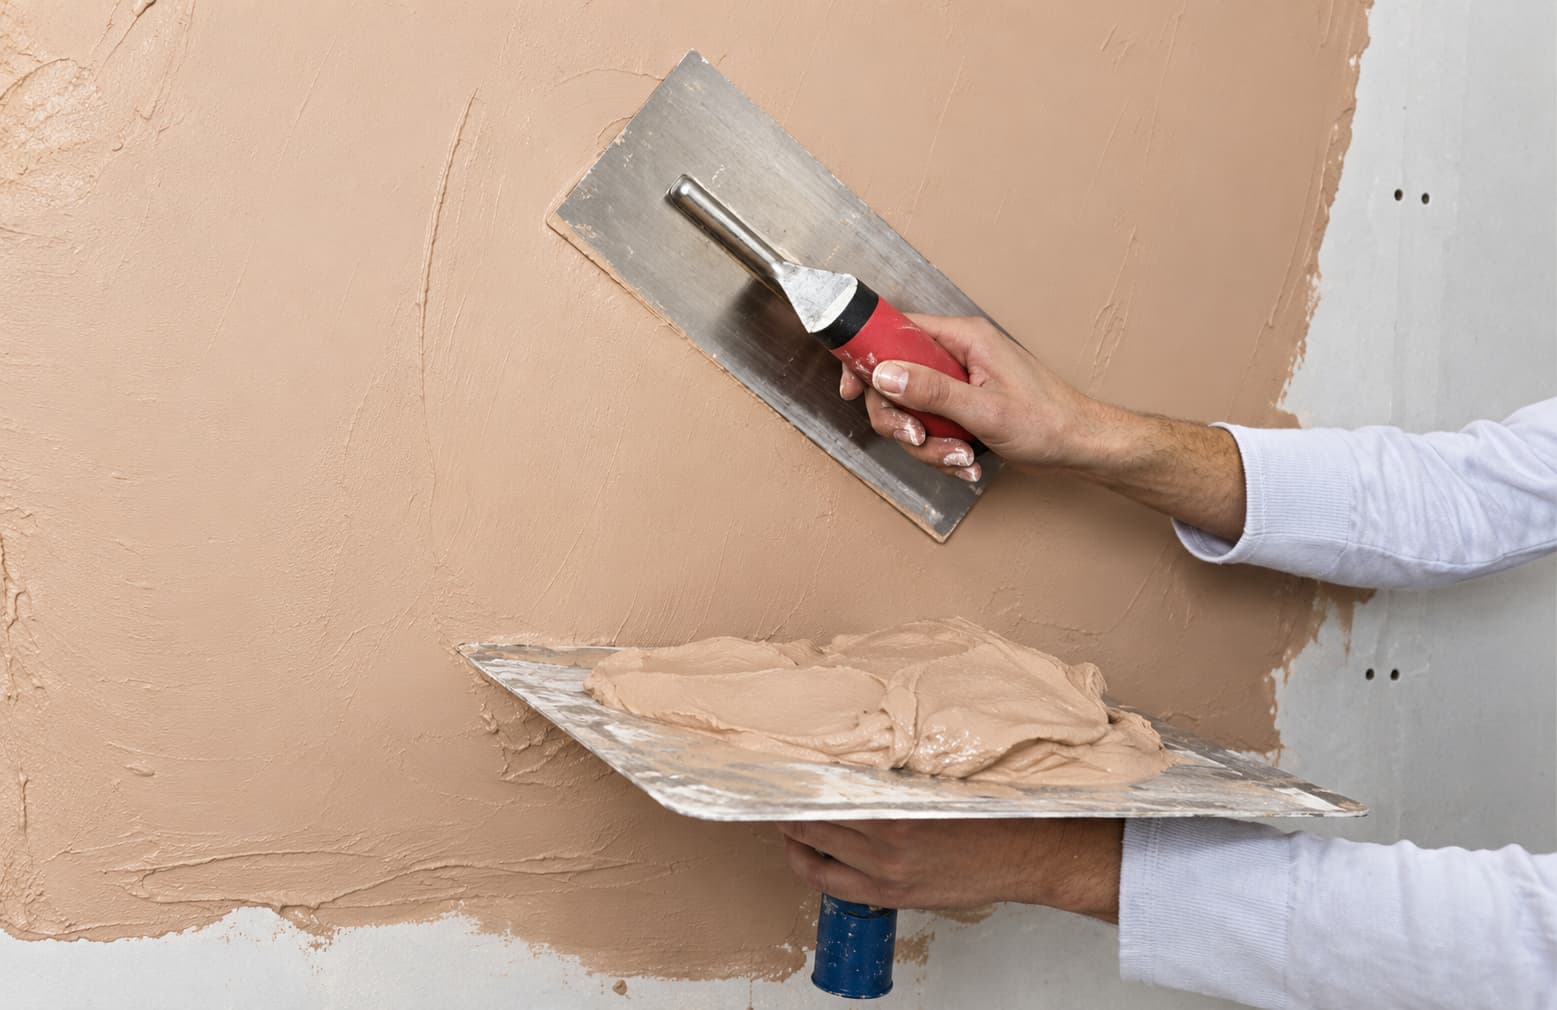
Basecoats and finish plasters perform different jobs. Select them as compatible parts of the proposed system.
Plaster Products at a Glance
| Product Role | Purpose | Selection Check |
|---|---|---|
| Conventional Basecoat | Builds the body of a conventional plaster system. | Match the product to the supporting base and specified finish. |
| Veneer Basecoat | Forms the first coat in a two-coat veneer system. | Use with an approved base and compatible veneer finish. |
| Finish Plaster | Creates the exposed plaster surface. | Confirm the approved basecoat or direct-application base and intended texture. |

National Gypsum’s plaster selection guide explains the distinction between conventional and veneer systems. Product names and installation requirements should be confirmed for the proposed work.
Benefits and Limits of Gypsum Plaster
A properly selected and installed system can provide a smooth, hard interior finish. Appearance and durability depend on the products, supporting base, preparation and workmanship.
If fire resistance or sound control matters to the project, request documentation for the complete proposed wall or ceiling assembly. Claims about mold resistance, energy savings or environmental benefits also need evidence for the actual product or system.
Preparation and Painting
Confirm whether the existing surface needs a dedicated plaster base, bonding treatment or another manufacturer-approved preparation. Follow the selected product’s mixing instructions and use only specified additives.
Setting and drying are separate stages. Confirm that the surface is ready for decoration and that the primer and coating are suitable for the plaster. National Gypsum’s plaster FAQ explains why its plaster systems require an appropriate base and plaster-compatible primer.
Before Work Begins: Your Project Checklist
- System: What base, basecoat and finish are being specified?
- Exposure: Is the selected product suitable for the room’s moisture conditions?
- Preparation: What does the existing surface need, and how will repairs meet the surrounding finish?
- Application: What coat thicknesses and room conditions are required?
- Decoration: How will readiness for primer and paint be confirmed?
From Assessment to Finished Surface
Discuss Your Interior Plaster Project
Review Indiana Wall Systems’ plaster repair and restoration services if you are assessing damaged or existing plaster.
Send a project inquiry describing the room, visible conditions, known moisture concerns and the finish you want. Include photographs of the affected area and surrounding surface.