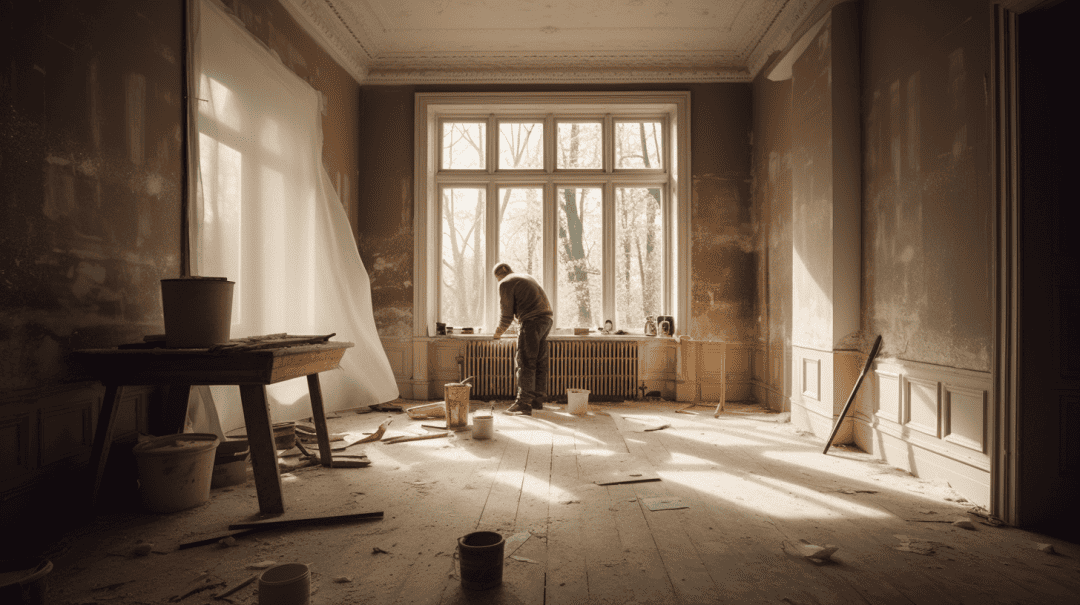
Transform Your Basement with Pro-Level Plastering: Step-by-Step Tips for Smooth, Durable Results That Last a Lifetime
Fixing up your basement can be tough. Plastering is a key step in making it look great. This guide will show you expert ways to plaster your basement walls and ceiling. You’ll learn how to get a smooth, long-lasting finish.
Ready to make your basement shine?
Key Takeaways
- Proper plastering is key for a dry, cozy basement that lasts long.
- Clean and fix walls before plastering to ensure good adhesion.
- Choose the right plaster type: cement for toughness, gypsum for smooth indoor walls, or waterproof for damp areas.
- Apply plaster in thin layers, letting each dry fully before adding the next.
- Wait 2-4 weeks before painting freshly plastered walls to avoid peeling or bubbling.
The Importance of Proper Plastering in Basement Renovations
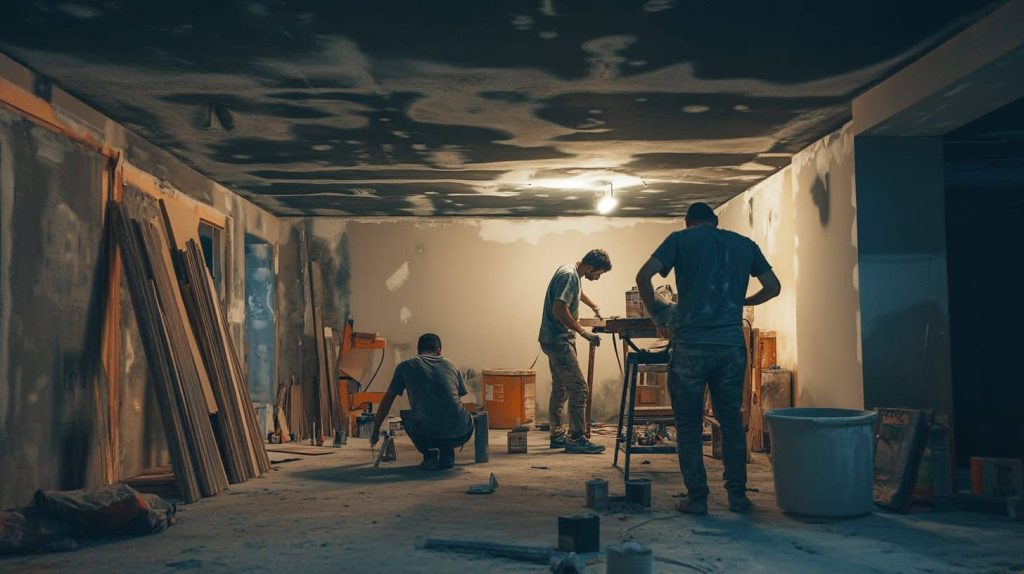
Now that we’ve covered the basics, let’s talk about why good plastering matters in your basement redo. Proper plastering is key to making your basement look great and last long. It stops common problems like cracks and poor sticking.
A well-done plaster job gives you a smooth, strong surface that won’t break down easily.
Good plastering also helps keep your basement dry and cozy. It seals out moisture and makes the walls stronger. This means less worry about mold or damage over time. As one expert says:.
Quality plastering is the foundation of a beautiful, durable basement that stands the test of time.
With the right plaster work, your basement can become a comfy space for your family to enjoy for years to come.
Preparing Your Basement for Plastering
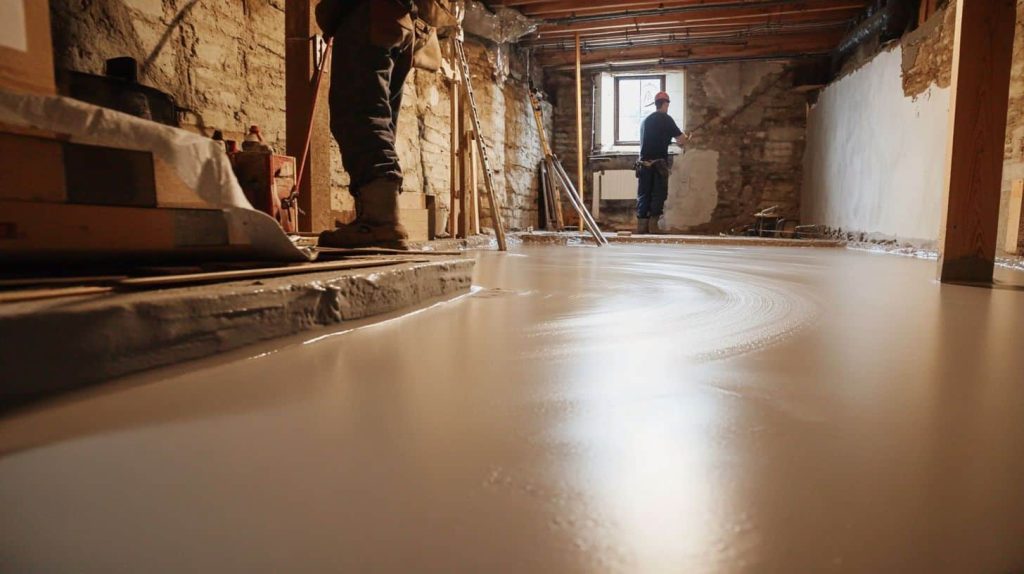
Getting your basement ready for plastering is key. You need to clean the walls and fix any damage first.
Cleaning and Repairing the Surface
Clean surfaces are key for good plastering. Start by scrubbing walls with soap and water. Remove all dust, dirt, and grease. Scrape off old paint or wallpaper. Fix any cracks or holes with filler.
Sand rough spots until smooth. Make sure the wall is dry before you start plastering.
Check for moisture issues too. Look for damp patches or mold. Fix any leaks first. Use a dehumidifier if needed. A dry surface helps the plaster stick better. Once clean and dry, your walls are ready for the next step.
Let’s look at how to deal with moisture and waterproofing.
Addressing Moisture and Waterproofing Issues
Moisture in basements can ruin your plastering work. Fix water issues before you start. Check for leaks and seal them. Use a good waterproof coating on walls and floors. This stops water from seeping through.
Good drainage outside helps too. Make sure gutters work well. Slope the ground away from your house. Inside, use a dehumidifier to keep air dry. These steps protect your plaster job and make your basement last longer.
Essential Tools and Materials for Basement Plastering
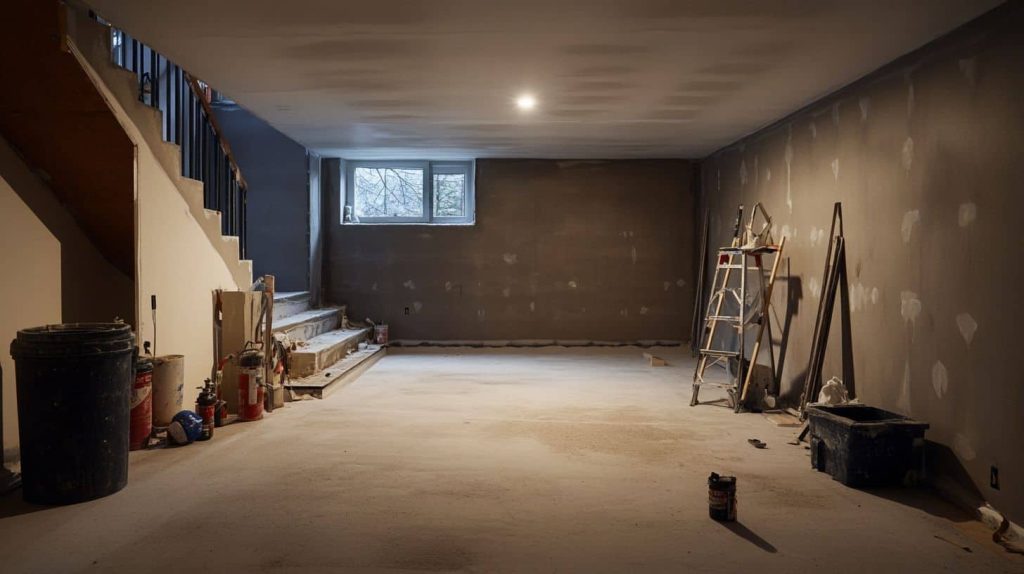
Plastering your basement needs the right gear. You’ll want quality trowels, hawks, and mixers to get the job done well.
Trowels, Hawks, and Mixers
Trowels, hawks, and mixers are key tools for basement plastering. A trowel spreads and smooths plaster on walls. Hawks hold plaster while you work. Mixers blend plaster to the right texture.
These tools help create a smooth finish.
You’ll need different trowel sizes for various jobs. A bucket trowel mixes small amounts of plaster. A finishing trowel gives walls a polished look. Don’t forget a drill-mounted paddle for mixing large batches quickly and evenly.
The right tools make all the difference in plastering – they’re the foundation of a job well done.
Choosing the Right Plaster for Your Basement
Picking the best plaster for your basement is key. You have three main types to think about. Cement plaster is tough and works well inside and outside. Gypsum plaster dries fast, fights fire, and makes smooth indoor walls.
For damp basements, you need waterproof plaster. It keeps moisture out and stops mold. Each type has its own good points. Your choice depends on what your basement needs most.
Look at your basement before you decide. Is it often wet? Go for waterproof plaster. Want smooth walls that dry fast? Try gypsum. Need something strong for both inside and out? Cement plaster might be your best bet.
Don’t forget to check if your walls need special prep first. The right plaster will make your basement look great and last long.
Additional Materials: Bonding Agents and Fiberglass Mesh
After picking the right plaster, you’ll need some extra items. Bonding agents and fiberglass mesh are key for a strong finish. Bonding agents help the plaster stick better to walls.
They cut down on cracks and make the plaster last longer. Fiberglass mesh adds strength to the plaster layer. It stops cracks from growing and keeps your walls smooth.
These materials work great with any type of plaster you choose. They’re easy to use and make a big difference in how your basement looks. With bonding agents and mesh, your walls will stay nice for years to come.
They’re worth the extra cost for a job done right.
Understanding the Types of Plastering for Basements
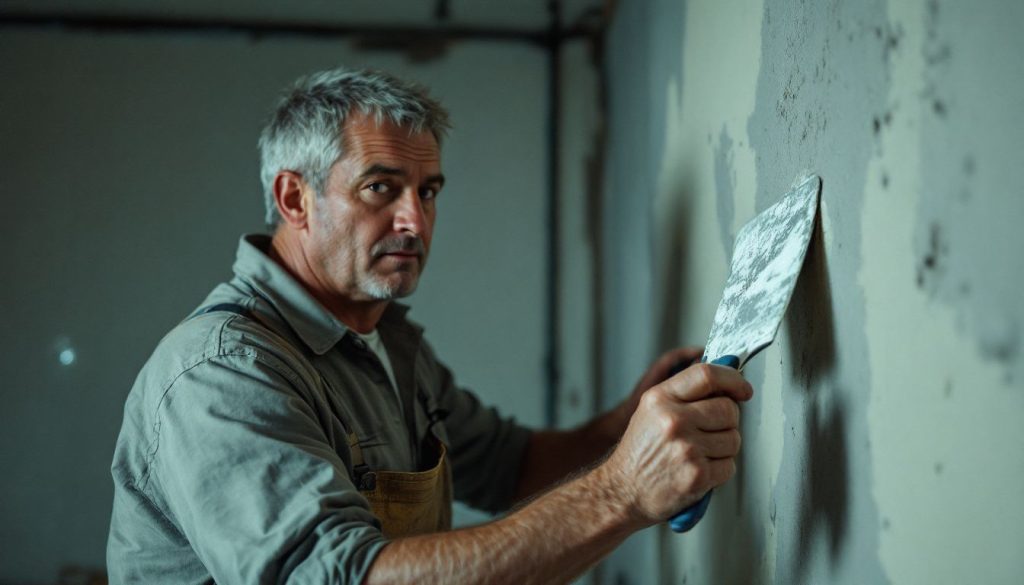
Basement plastering comes in three main types: cement, gypsum, and waterproof. Each type has its own strengths for different basement needs. Keep reading to learn which one fits your project best.
Cement Plastering
Cement plastering is a tough coating for basement walls. It’s made of sand, cement, and water. This mix creates a strong layer that can stand up to moisture. Homeowners often pick cement plaster for basements because it lasts long and fights water.
Applying cement plaster takes skill. You start with a rough coat to help the plaster stick. Then, you add smoother layers on top. The final coat gives a nice finish. It’s key to let each layer dry before adding the next.
This process makes the plaster strong and less likely to crack.
Gypsum Plastering
Moving from cement to gypsum plastering, we find a lighter option for your basement walls. Gypsum plaster is a popular choice for indoor use. It dries fast and resists fire well. This makes it great for basement renovations.
Gypsum plaster gives walls a smooth, even look. It’s easy to work with and sets quickly. Homeowners like it because it doesn’t shrink much as it dries. This means fewer cracks over time.
You can paint it soon after it’s dry, speeding up your project. For a cozy basement space, gypsum plaster is a smart pick.
Waterproof Plastering
Waterproof plastering is a must for basements. It keeps water out and stops mold growth. This type of plaster has special stuff mixed in to make it resist water. You put it on in layers, just like regular plaster.
But it’s tougher and lasts longer in damp spots.
Pros use waterproof plaster to seal basement walls and floors. It helps fix leaks and keeps your space dry. The plaster can even handle small cracks that might let water in. Next, let’s look at how to plaster step by step.
Step-by-Step Guide to Expert Plastering
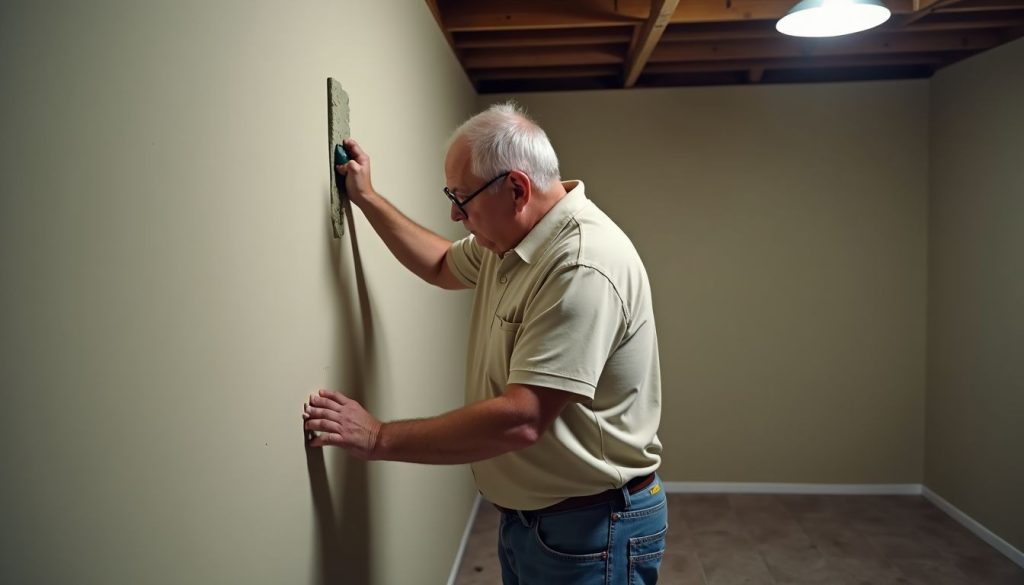
Expert plastering needs careful steps. Our guide shows you how to mix, apply, and finish plaster like a pro.
Mixing the Plaster for Consistency
Proper plaster mixing is essential for achieving smooth walls. Utilize a drill equipped with a paddle attachment for thorough blending. Gradually incorporate water until you achieve a thick, creamy consistency.
This approach enhances the plaster’s adhesion and improves its spreadability. Strive for a mixture that strikes a balance between being neither too fluid nor too dense.
Apply the mixture to a small test area initially. If the consistency is overly wet, incorporate additional dry plaster. If it’s too dry, add a small amount of water. Perfecting the mixture requires practice, but the effort results in an excellent finish.
Keep in mind that thorough mixing contributes to walls that are visually appealing and durable.
Applying the Base Coat
Applying the base coat is a key step in plastering your basement walls. First, mix your plaster to get the right consistency. Use a hawk and trowel to spread a 2mm thick layer evenly across the wall.
Work in small sections, smoothing as you go. Let this coat dry fully before moving on. This first layer forms the foundation for a smooth finish.
Once dry, check for any high spots or ridges. Gently sand these down with fine-grit sandpaper. This helps ensure the next coat goes on smoothly. A flat base coat is vital for a pro-looking finish.
Take your time with this step – it pays off in the end result.
Adding the Finish Coat for a Smooth Surface
The finish coat is key for a smooth basement wall. After the base coat dries, apply a thin layer of plaster – about 1mm thick. Use a trowel to spread it evenly. Smooth the surface with care, working in small sections.
This step takes skill, but it’s worth the effort for a great look.
Let the plaster harden fully before you touch it again. Once it’s set, you can sand any rough spots. A smooth finish will make your basement walls look pro and last longer. It also helps with painting later on.
Take your time with this step – it’s the one everyone will see!
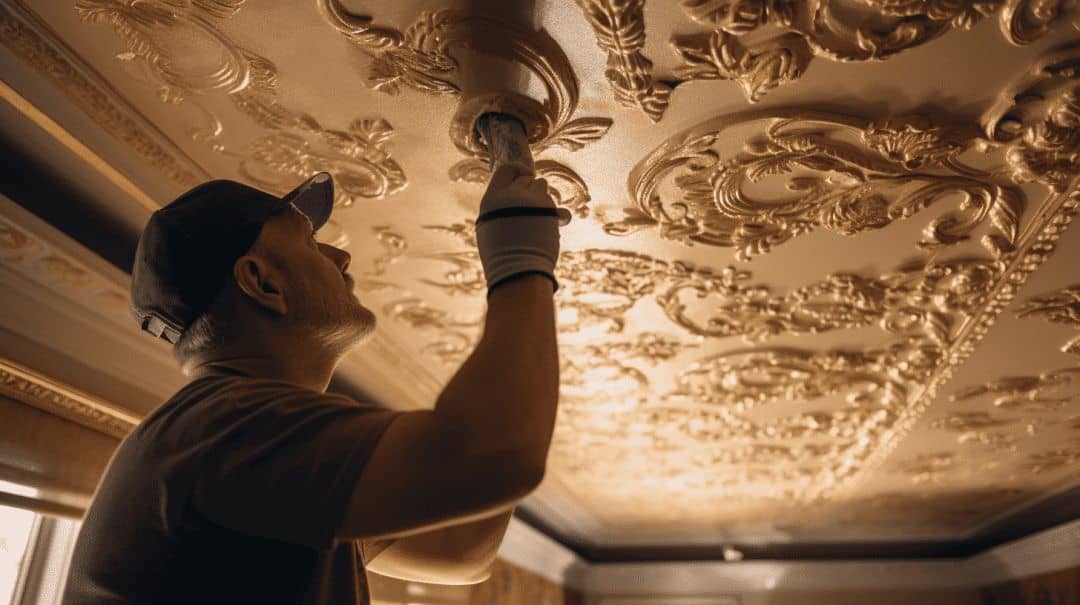
Professional Interior Plastering and Ceiling Restoration
Professional plasterers bring top-notch skills to basement projects. They know how to fix tricky spots and make walls smooth. These pros can repair old ceilings and add new textures too.
They work fast and get great results, saving you time and stress.
Hiring an expert means fewer mistakes and less mess. They use the right tools and materials for each job. Pros can spot hidden issues before they become big problems. They also give tips on how to keep your new plaster looking good for years.
For big or complex jobs, a pro’s touch is often worth the cost.
Tips for Achieving a Smooth and Durable Finish
Smooth finishes need skill and care. Use the right tools and methods to get great results. Want to learn more? Keep reading for expert tips on plastering your basement walls.
Proper Layering Techniques
Layering plaster is key to a smooth finish. Start with a thin base coat and let it dry fully. This first layer should be about 1/8 inch thick. Once dry, add a second coat of the same thickness.
Use a trowel to spread the plaster evenly. Make sure each layer is flat before adding the next. The final coat should be very thin – just enough to fill any small gaps.
For best results, mix your plaster well. It should be creamy but not too runny. Apply it in steady, even strokes. Don’t rush – take your time to get each layer right. If you see any bumps or dips, fix them before they dry.
This careful approach will give you walls that look great and last for years.
Using the Right Tools for Smoothing and Sanding
The right tools make all the difference in smoothing and sanding plaster. A good trowel helps spread plaster evenly, while a hawk holds your mix. For smoothing, use a damp sponge to remove air bubbles and create a level surface.
Fine-grit sandpaper works best for the final touches, giving walls that perfect finish.
Don’t skimp on quality tools – they’ll save you time and effort. A sturdy taping knife can help with corners and edges. For larger areas, a long-handled sanding block makes the job easier.
With the proper gear, you’ll get smooth walls that look great and last for years.
Common Challenges in Basement Plastering and How to Overcome Them
Basement plastering often faces issues like cracks and uneven surfaces. Learn how to tackle these problems and create smooth, durable walls that last.
Addressing Cracks and Uneven Surfaces
Cracks and uneven surfaces in basement walls can be a real pain. But don’t worry – fixing them is easier than you might think! Start by cleaning the area well. Then, use a patching compound to fill small cracks.
For bigger gaps, try a fiberglass mesh tape before applying the compound. This helps stop future cracks. Once dry, sand the area smooth. For uneven spots, apply a thin layer of joint compound and spread it evenly with a trowel.
Dealing with moisture is key to prevent new cracks. Make sure your basement is dry before you start any work. Use a waterproof sealant on the walls if needed. This stops water from getting in and causing more damage.
After fixing cracks and smoothing surfaces, let everything dry fully. Then you can paint or finish the walls as you like. Next, let’s look at how to choose the right tools for smoothing and sanding your newly fixed walls.
Dealing with Bonding or Adhesion Issues
After fixing cracks, bonding issues can pop up. Poor adhesion leads to plaster falling off walls. This happens when the surface isn’t clean or dry enough. To fix this, use a bonding agent before plastering.
It helps the plaster stick better to the wall.
Clean the surface well and let it dry fully. Then apply the bonding agent as directed. Mix your plaster right – not too wet or dry. Put it on in thin layers. Press it firmly into the wall as you go.
This method helps the plaster bond strongly to your basement walls.
Safety Precautions During Plastering Projects
Safety gear and good air flow are key for plastering jobs. Wear goggles, gloves, and a mask to stay safe. Keep windows open to let fresh air in. These steps help protect you from dust and fumes.
Want to learn more about safe plastering? Keep reading!
Protective Gear and Ventilation
Goggles, gloves, and dust masks are must-haves for basement plastering. These items shield your eyes, skin, and lungs from harmful dust. Good air flow is key too. Open windows and use fans to move fresh air in and stale air out.
This helps you breathe easier and keeps the work area safer. Always put on your gear before you start and keep it on until you’re done. Your health matters most when fixing up your home.
Safe Handling of Tools and Materials
Handle tools and materials with care to stay safe. Wear gloves, goggles, and a dust mask when working with plaster. Keep your work area clean and tidy to avoid trips and falls. Use sharp tools carefully, and store them safely when not in use.
Mix plaster in a well-ventilated space to avoid breathing in dust.
Always read labels on materials before use. Follow safety guidelines for each product. Keep kids and pets away from your work area. Clean up spills right away to prevent slips. Proper tool care is key for good results and safety.
Next, let’s look at how to maintain your newly plastered basement walls.
Maintaining and Repairing Plastered Basement Walls
Keep your basement walls in top shape with regular checks and quick fixes. Spot small cracks early and patch them up fast. This stops bigger problems down the road. Want to learn more about keeping your basement walls strong? Read on!
Spot Repairs for Minor Cracks
Minor cracks in plaster walls are common and easy to fix. You can fill these cracks with joint compound and sand them smooth. This simple repair job keeps your walls looking great and stops small issues from getting worse.
Regular checks and quick fixes help your basement stay in top shape for years to come.
Next, let’s talk about repainting and sealing for longevity.
Repainting and Sealing for Longevity
After fixing small cracks, it’s time to think about the long-term care of your basement walls. A fresh coat of paint and good sealing can make your walls last much longer. Pick a paint that works well in damp places.
Use a sealer first to keep moisture out. This step is key for basements, which often face water issues.
Paint your walls after the plaster has fully dried. This can take 2-4 weeks. Use high-quality paint and sealants to protect the plaster. These products help stop mold and mildew growth.
They also make your basement look nicer and feel more like a living space. With proper care, your newly plastered walls can stand the test of time.
DIY vs. Professional Basement Plastering: What to Consider
Choosing between DIY and pro basement plastering depends on your skills and project size. DIY can save money for small jobs, but pros bring expertise for big or tricky projects. Want to learn more about making this choice? Keep reading!
When to Hire a Professional Plasterer
Hiring a pro for plastering makes sense for big jobs. Experts have the tools and know-how to handle tricky spots like high ceilings or odd corners. They can spot hidden issues that might cause trouble later.
Pros also work faster and often get better results than DIY efforts.
For small touch-ups, you might tackle the job yourself. But complex work needs a skilled hand. Pros can mix plaster just right and apply it smoothly. They know how to prep walls and fix underlying problems.
This saves time and headaches in the long run. Plus, they can offer tips on care and upkeep to make your new walls last.
Benefits of DIY for Small Basement Projects
While pros handle big jobs, DIY can shine for small basement tasks. Doing it yourself saves money and builds skills. You can patch holes or make minor repairs at your own pace. This hands-on approach lets you learn about your home’s structure and materials.
DIY projects offer a sense of pride and control. You choose the materials and methods that fit your style and budget. Plus, you gain knowledge that helps with future home care. For simple plaster work, many homeowners find success with basic tools and online guides.
Types of Plasters and Their Uses in Basement Renovations
Basement renovations need the right type of plaster. Cement plaster works well for tough jobs inside and outside. It stands up to wear and tear. Gypsum plaster dries fast and makes smooth walls indoors.
For damp basements, waterproof plaster is a must. It keeps moisture out and walls dry.
Lime plaster offers a green choice that lets walls breathe. Mud plaster keeps rooms warm and is eco-friendly too. For a fancy look, stucco plaster adds texture to walls. Each type has its strengths for different basement needs.
Next, let’s look at some common questions about basement plastering.
Frequently Asked Questions About Basement Plastering
Basement plastering often brings up many questions. Here are some common queries homeowners have about this process.
How Long Should I Wait Between Coats of Plaster?
Plaster needs time to dry between coats. This is key for a strong finish. Most pros say to wait 24 hours before adding the next layer. This gives the plaster time to set and harden.
Rushing can lead to cracks or weak spots.
Each coat must be fully dry before you add more. The exact time can change based on the type of plaster and how damp your basement is. Some quick-dry options may need less time. But it’s best to stick to the 24-hour rule to be safe.
This helps ensure your walls will look good and last long.
Can I Paint Over Freshly Plastered Walls?
Fresh plaster needs time to dry before painting. You must wait 2-4 weeks for the plaster to cure fully. This waiting period lets the plaster set and harden properly. Painting too soon can lead to peeling or bubbling paint.
Make sure the surface is smooth before you paint. Check for any bumps or holes and fix them. Use fine sandpaper to smooth out rough spots. Clean the walls to remove dust. Once the plaster is dry and smooth, you can start painting.
Use a primer first to help the paint stick better.
What is the Best Mix Ratio for Basement Plaster?
Now that we’ve covered painting fresh plaster, let’s talk about mixing it. Getting the right mix ratio for basement plaster is key. The best mix depends on the type of plaster you’re using.
For most basement jobs, a 3:1 ratio of plaster to water works well. This means three parts plaster powder to one part water. But always check the package! Different brands may have their own rules.
Mixing the right way gives you smooth, strong walls that last.
To get it just right, use a clean bucket and mixer. Add water first, then slowly pour in the plaster. Mix until it’s smooth with no lumps. The mix should be thick enough to stick to your trowel when held upside down.
If it’s too runny, add more plaster. If it’s too thick, add a bit more water. Getting this step right makes the rest of your job much easier.
Conclusion
Expert plastering can transform your basement. With the right tools and know-how, you can create a smooth, durable finish. Remember to prep well, use quality materials, and take your time.
For big jobs, calling a pro might be best. Your newly plastered basement will be a cozy space for years to come.
FAQs
How do I repair cracks in my basement’s plaster walls?
To fix cracks, use a utility knife to widen them. Apply plaster weld, then fill with joint compound. For bigger gaps, use fiberglass tape. Let it dry, sand, and paint. This method works for hairline cracks and larger ones.
What’s the best way to waterproof my basement before plastering?
Basement waterproofing is key. Start by sealing exterior walls. Use foam insulation to prevent moisture. Add a decoupling layer to stop water seepage. This step is vital for the plaster’s long-term health.
Can I plaster over existing drywall in my basement?
Yes, you can plaster over drywall. First, check for damage. Apply a skim coat of plaster mixed with water. Use a trowel for a smooth finish. This technique works well for basement walls and ceilings.
What are some expert tips for achieving a smooth plaster finish?
Pro tips: Use the right mix of lime and water. Apply thin coats, letting each dry fully. Sand between layers for evenness. For the final coat, use a wet trowel. These steps help create that perfect, smooth surface.
How do I handle high humidity issues when plastering my basement?
High humidity can ruin plaster. Use dehumidifiers during the plastering process. Ensure good air flow. Apply plaster in thin layers, allowing each to dry completely. This approach helps maintain the plaster’s structural integrity.
What should I know about plastering around basement utilities?
Be careful around junction boxes and soffits. Use lath strips for support near pipes. Leave access points for future repairs. When plastering near utilities, think about sound dampening too. This helps create a finished look while keeping function in mind.


