
Achieving a durable and visually appealing exterior involves knowing the right techniques for caulking. Exterior caulking tips can make a significant difference in the longevity and appearance of your property. Whether you are sealing joints, filling gaps, or preparing surfaces, mastering these tips ensures your building remains protected from moisture and other elements. This guide will help homeowners, property managers, and commercial building owners maintain the integrity and beauty of their structures through effective caulking practices.
Choosing The Right Caulk for Each Exterior Surface
Selecting the right caulk for exterior surfaces is vital for both durability and visual appeal. When choosing caulk, it’s important to consider factors such as material compatibility, flexibility, and resistance to weather conditions. For example, silicone caulk is ideal for non-porous surfaces like metal and glass, while acrylic latex caulk is better suited for wood and masonry. Using the appropriate caulk prevents cracks and gaps, providing a long-lasting seal that protects the building from moisture and pests.
For surfaces that involve multiple materials, it’s crucial to use caulk that adheres well to each one. Hybrid caulks, which combine the properties of silicone and acrylic, offer versatility and are suitable for various substrates. These caulks provide excellent adhesion, flexibility, and durability, making them a preferred choice for mixed-material applications. Choosing the right caulk enhances the exterior’s appearance and contributes to the building’s structural integrity, preventing damage from water infiltration.
Preparing Surfaces Properly before Applying Exterior Caulk
Proper surface preparation is critical for effective caulking. Before applying caulk, thoroughly clean the surface to remove dirt, dust, grease, and old caulk residues. A clean surface ensures better adhesion and a smoother finish. Use a wire brush or putty knife to scrape away loose material, followed by wiping the area with a damp cloth to remove any remaining debris.
Ensuring the surface is dry before caulking is equally important, as moisture can interfere with the caulk’s adhesion and curing process. A mild detergent solution can be used to clean stubborn stains or residues. Once the surface is clean and dry, applying a primer or sealant can further enhance the caulk’s bond, especially on porous materials like brick or concrete. Proper preparation sets the foundation for a seamless and long-lasting caulk application, ensuring the exterior remains protected from the elements.
Removing Old Caulk to Ensure a Clean Application
Removing old caulk is essential for a clean and effective new application. Over time, caulk can deteriorate, crack, or discolor, compromising its sealing properties. Carefully use a caulk removal tool or a utility knife to cut and scrape away the old caulk. Work slowly and methodically to avoid damaging the underlying surfaces.
After removing the old caulk, clean any remaining residue with a solvent or caulk remover solution. This ensures the new caulk adheres properly and creates a tight seal. Wipe the surface with a damp cloth and allow it to dry completely. Removing old caulk not only provides a clean slate for the new application but also helps prevent mold and mildew growth, contributing to a healthier and more attractive exterior.
Applying Caulk in Appropriate Weather Conditions for Best Results
Applying caulk in the right weather conditions is crucial for optimal results. Extreme temperatures, high humidity, or rainy weather can negatively impact the caulking process and the final outcome. Ideally, caulking should be done on a day with moderate temperatures, low humidity, and no rain in the forecast. This allows the caulk to cure properly and form a strong, durable seal.
In hot weather, caulk may become too soft and difficult to work with, while in cold weather, it may become too stiff and hard to apply. Humidity can also affect the curing time, causing the caulk to remain tacky for longer periods. By choosing the right weather conditions, homeowners can ensure the caulk adheres well, cures evenly, and provides a lasting seal that protects the building from moisture and other elements.
Cutting The Caulk Tube Tip at The Correct Angle
Cutting the caulk tube tip at the correct angle is essential for precise and controlled application. The tip should be cut at a 45-degree angle to allow better control and help create a smooth bead of caulk. Match the size of the opening to the width of the joint or seam to be filled. A smaller opening is ideal for narrow gaps, while a larger opening is suitable for wider joints.
Using a utility knife or a pair of scissors, carefully cut the tip of the caulk tube at the desired angle. Start with a smaller opening and gradually increase the size if needed to provide better control over the amount of caulk being dispensed. Properly cutting the tip ensures the caulk is applied evenly and accurately, minimizing waste and reducing the need for cleanup.
Using A Caulking Gun for Consistent Application Pressure
Using a caulking gun is essential for maintaining consistent application pressure and achieving a professional finish. A caulking gun allows for controlled and even dispensing of the caulk, ensuring a smooth and uniform bead. Choose a quality caulking gun with a comfortable grip and smooth trigger action to make the process easier and more efficient.
Insert the caulk tube into the gun and cut the tip as described earlier. Apply steady pressure on the trigger while moving the gun along the joint or seam at a consistent speed. This helps create an even bead of caulk without gaps or breaks. Using a caulking gun not only improves the appearance of the caulk but also ensures it fills the joint properly, providing a strong and durable seal.
Smoothing Caulk Beads with A Caulking Tool Or Finger
Smoothing caulk beads is crucial for a neat and professional finish. After applying the caulk, smooth the bead to remove any excess material and create a uniform appearance. A caulking tool or even a finger can be used for this purpose. A caulking tool provides a more precise and consistent finish, while using a finger offers better control and flexibility.
To smooth the caulk, gently press the tool or finger along the bead, applying even pressure. This helps to push the caulk into the joint and remove any air bubbles. Work quickly before the caulk begins to set for easier shaping and smoothing. Dipping the tool or finger in water or a caulk smoothing solution can also help achieve a smoother finish.
Smoothing the caulk bead ensures it adheres properly and provides a seamless, attractive finish that enhances the overall appearance of the exterior. Additionally, a well-smoothed caulk bead improves the effectiveness of the seal, preventing moisture and air infiltration and contributing to the longevity of the caulked area.
Filling Gaps Evenly to Prevent Moisture Penetration
Filling gaps evenly is essential to prevent moisture penetration and ensure the longevity of the caulk. Uneven or incomplete filling can leave gaps that allow water to seep in, leading to potential damage and mold growth. Apply the caulk in a steady and controlled manner, ensuring it completely fills the joint or seam. This helps create a continuous barrier that protects the building from moisture and other elements.
For larger gaps, it may be necessary to apply the caulk in multiple layers, allowing each layer to cure before applying the next. This ensures the caulk adheres properly and forms a strong, durable seal. Properly filled gaps not only enhance the appearance of the exterior but also contribute to the structural integrity of the building, preventing potential issues caused by water infiltration.
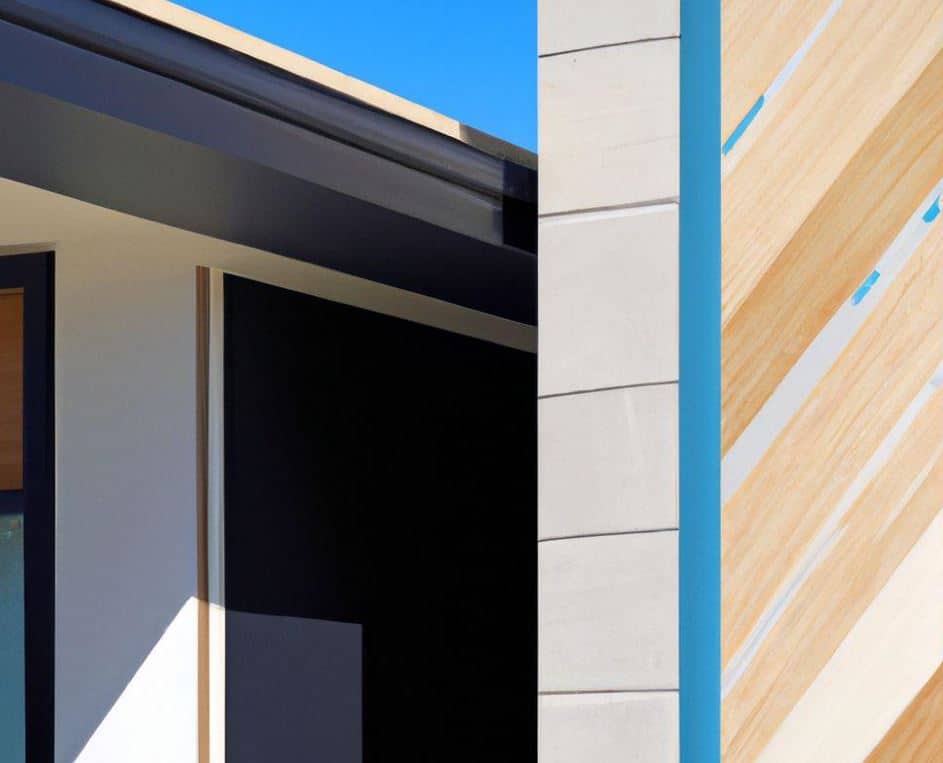
Sealing Joints between Different Materials for Better Adhesion
Sealing joints between different materials is essential for better adhesion and a longer-lasting seal. Different materials can expand and contract at different rates, which can cause gaps and cracks to form over time. Using a flexible caulk that adheres well to both materials helps create a strong bond that accommodates these movements and prevents potential damage.
Carefully inspect the joints between different materials, such as wood and brick, metal and glass, or concrete and siding. Identify any areas where gaps or cracks are present, as these are points where water and air can infiltrate, leading to potential damage. Applying a high-quality caulk designed for these specific materials ensures better adhesion and a more durable seal.
Before applying the caulk, clean the joints thoroughly to remove any dust, debris, or old caulk. This preparation step is crucial for the new caulk to adhere properly. Once the joints are clean, apply the caulk evenly, ensuring it fills the gaps completely. Smooth the caulk bead to create a neat and professional finish.
Allowing Adequate Drying Time for Caulk Before Painting
Allowing adequate drying time for caulk before painting is crucial for achieving a smooth and professional finish. Painting over wet or uncured caulk can cause the paint to crack or peel, compromising the appearance and effectiveness of the seal. Follow the manufacturer’s recommendations for drying and curing times, which can vary depending on the type of caulk and the weather conditions.
Typically, caulk should dry for at least 24 hours before painting, although some types may require longer. Ensuring the caulk is fully cured before applying paint helps create a seamless and durable finish that enhances the overall appearance of the exterior. Proper drying time ensures the caulk maintains its flexibility and adhesion, providing a long-lasting seal that protects the building from the elements.
Using Paintable Caulk for Seamless Integration with Surfaces
Using paintable caulk is an excellent way to achieve seamless integration with surfaces and enhance the exterior’s overall appearance. Paintable caulk can be easily painted over, allowing it to blend in with the surrounding materials and create a uniform look. This is especially important for homeowners who want to maintain the aesthetic appeal of their property while ensuring a durable and effective seal.
When choosing paintable caulk, select a high-quality product that offers good adhesion and flexibility. This ensures the caulk remains effective even after painting and can withstand the elements. Applying paintable caulk and paint over it once it is fully cured creates a seamless finish that enhances the exterior’s appearance and protects the building from moisture and other elements.
Storing Caulk Tubes Properly to Maintain Freshness
Properly storing caulk tubes is essential to maintain their freshness and effectiveness for future use. Once opened, caulk tubes should be sealed tightly to prevent the product from drying out and becoming unusable. Use a cap or a piece of plastic wrap secured with a rubber band to seal the tip of the tube. Store caulk tubes in a cool, dry place, away from direct sunlight and extreme temperatures.

Proper storage extends the shelf life of the caulk and ensures it remains effective and easy to apply when needed. Check the expiration date on the caulk tube and use it within the recommended time frame to ensure it performs as expected. By taking these simple steps, homeowners can maintain the quality and effectiveness of their caulk, ensuring they are always ready for any caulking projects.
Achieve Superior Results with Indiana Wall Systems’ Caulking
At Indiana Wall Systems, we offer exceptional commercial caulking services and exterior caulking tips that enhance the durability and appearance of your property. Our skilled team ensures effective sealing to protect against moisture and air infiltration, extending your building’s lifespan. We also specialize in Exterior insulation and finish systems (EIFS), plaster repair, and more, providing comprehensive solutions that improve your construction projects. Our expertise in these areas guarantees high-quality results, making sure your property remains in excellent condition and maintains its aesthetic appeal for years to come.